| Applies To | |||
| Product(s): | OpenPlant PID | ||
| Version(s): | 08.11.10.XXX | ||
| Environment: | Windows 7 (64 bit) | ||
| Area: | Customization | ||
| Subarea: | |||
| Original Author: | Harpreet Singh, Bentley Product Advantage Group |
Background
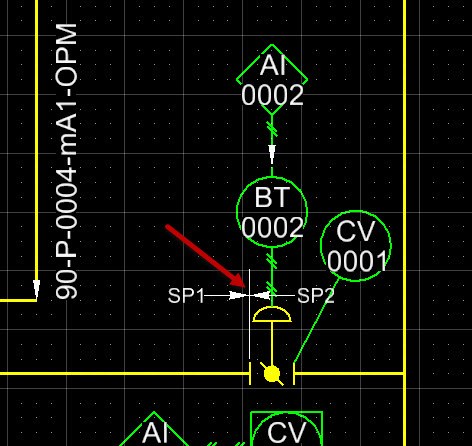
User wanted that sometimes due to space constraints in congested drawings as shown below. Spec break symbol and annotation are overlapping with adjacent components. So user may want to place the spec break symbol with an extended leader line which will provide space for annotation.
Steps to Accomplish
- Create a symbol which has an extended leader line at a certain angle as shown below.
- Select the elements in the drawing and go to Tools>Managers>Component Manager.
- Click ‘Create Components from Elements’ icon in component manager.
- Add class name and display label in component creation wizard.
- Change the Class View to ‘Single Hierarchical’ and locate SPEC_BREAK class. Click Next.
- Change the cell library to Piping.cel.
- Click ‘Origin’ button and set the origin on the end. Click Next.
- Add CP1 and set the CP direction as shown below.
- Add CP2 and set it in opposite direction. Click Next.
- Click next on this dialog.
- Select ‘Annotation’ node and click Finish button.
- Drag spec break tool from left window to right window and put it under Miscellaneous node as shown.
- You will need to adjust the location of annotations through Annotation Custom Attribute in LEFT_DISPLAY_TEXT and RIGHT_DISPLAY_TEXT properties.
- Save the changes in schema and re-open the drawing to verify the result.