
Original Article Date: July 11, 2001
Ever spend hours trying to draw the little icons for your custom tools...only to be disappointed with the results? Read this article to find out how you can create professionally drawn icons in Microstation SE and J/V7!
Creating custom icons can be...well...a pain at the best of times. No matter how much care you take to draw them, they often end up looking like a 2 year old toddler drew them. MicroStation is delivered with a cool utility called IconEdit. Found in the program\microStation\mdlsys\asneeded folder, it allows you to import pre-drawn graphics, a cell or bit-map image to represent the icon. Follow these simple steps and you'll be creating cool icons in no time at all!
- Start by creating a new Tool Box:
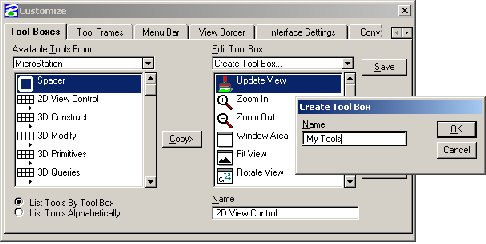
Select WorkSpace > Customize and choose Create Tool Box from the Edit Tool Box option. Give your new tool box a name and click OK
 |
- To add a new tool to the tool box, select Insert and you'll be presented with the dialog that's used to define and draw the icon. From the Options menu item, ensure that Draw Both Icons has been selected and click the OK button. The Icon Edit dialog will shut down and you'll be returned to the Customize dialog. At this point click the Save button to save the new tool box and it's associated icons to the ustn.m01 file.
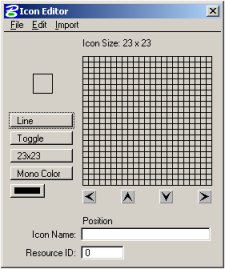
- Keyin: MDL LOAD ICONEDIT and a different icon editor dialog will appear:
 |
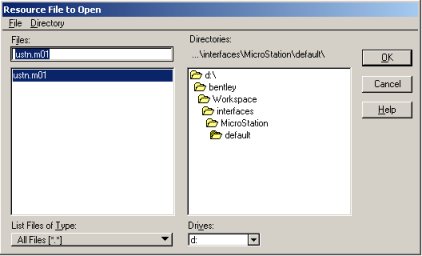
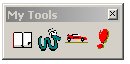
- We now have to open the M01 file that was just saved, so select File > Open and navigate to the ...\Bentley\Workspace\interfaces\MicroStation\workspace_name\ folder. In this folder you should see a file called USTN.01 which you can then select. Once you've selected the M01 file, the Open Icon Resource dialog will appear showing you two icons: one that's 23x23 and the other that's 31x31. Both of these icons will be edited with this dialog.
 |
- Now's a good time to take a closer look at the Icon Editor...specifically the Import menu item. You'll notice that there are three options:
- Graphics - Requires that you have a Fence surrounding graphical elements in your file. The contents of the Fence will then be imported and drawn on the icon.
- Cell - Loads the contents of the attached cell library into a separate dialog. You can then select the desired cell to be imported.
- MS Windows Bitmap - Allows you to select an existing bitmap (.BMP) file for importing. When importing an image, it's a pretty good idea to resize the bitmap to either 23x23 or 31x31 pixels. This will allow the image to fit presicly on the icon.
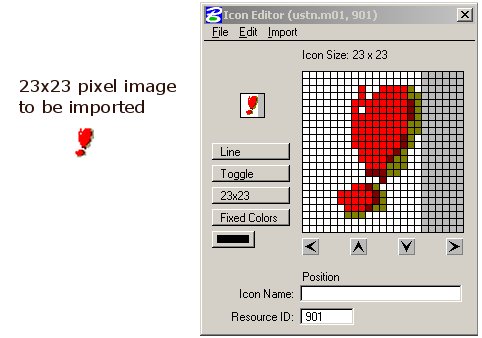
Once the image has been imported, you can do any minor cleanup using the normal icon editor from the customization dialog. Well, that's all there's to it...Have fun!!
AskInga Article #77